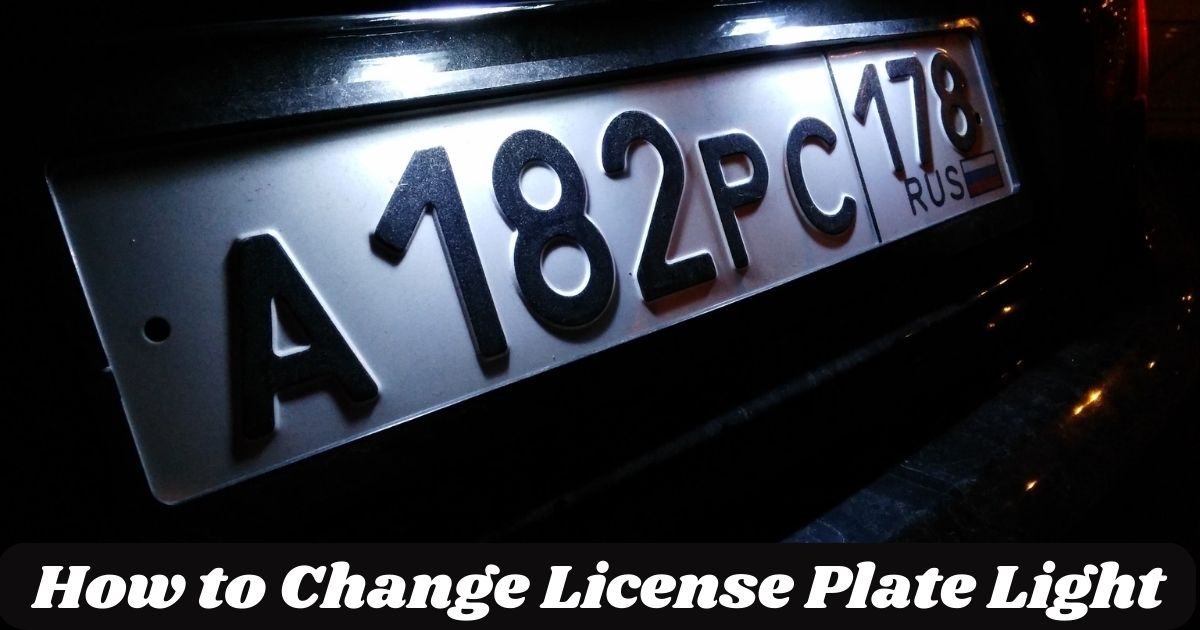
The license plate light is an essential part of your vehicle’s visibility, especially during nighttime driving or in low-light conditions. If the light is malfunctioning or burnt out, it can lead to safety concerns and potential fines.
Replacing a faulty license plate light is a straightforward task that can be done with minimal tools and effort. In this guide, we’ll walk you through the process, from recognizing the signs of a broken light to installing a new one, ensuring your vehicle stays safe and compliant.
Common Signs That Your License Plate Light Needs Changing
One of the most common indicators that the license plate light needs replacing is a dim or flickering light. Over time, the bulb can lose its brightness or start flickering intermittently, making it less effective. This usually signals that the bulb is nearing the end of its lifespan.
A broken or missing light is another obvious sign. If the light is completely out or physically damaged, it is time for a replacement. Failing to replace the light can cause issues during vehicle inspections, as an improperly functioning light could lead to non-compliance with road safety standards.
Tools and Materials Needed for the Job
To replace the license plate light, you will need basic tools such as a flathead screwdriver or Phillips screwdriver to remove the screws. A replacement bulb specifically designed for your car model is also essential. Ensure that you buy the correct type and size of bulb.
It’s also wise to purchase gloves to avoid touching the new bulb directly, as oils from your hands can reduce its lifespan. When choosing the bulb, it’s important to consider factors like brightness, energy efficiency, and whether you prefer LED or standard bulbs.
Step-by-Step Guide: How to Remove the Old License Plate Light
Start by locating the light fixture. It is usually situated directly above or below the license plate, often secured by screws or clips. Use the screwdriver to carefully remove the screws or clips holding the fixture in place, ensuring you don’t lose any parts.
Once the fixture is removed, carefully extract the old bulb. Make sure not to break it during removal. In some cases, the bulb might be stuck due to corrosion, so applying a bit of force may be required. Always be cautious not to damage the surrounding components.
Choosing the Right Replacement Bulb
Identifying the correct bulb is key to a successful replacement. Check your car’s manual for the specific bulb type or consult a professional if unsure. There are two common options: LED and standard bulbs.
LED bulbs are known for being more energy-efficient and lasting longer than standard options. However, they tend to be more expensive. Standard bulbs are cheaper but may need more frequent replacements. Consider the trade-off between cost and longevity when making your decision.
Installing the New License Plate Light Bulb
Once you have your new bulb, it’s time to insert it properly into the fixture. Gently place the new bulb into the socket, making sure it fits securely. After inserting it, make sure the light is aligned with the opening for optimal visibility.
Ensure that the bulb is seated correctly and does not wobble. Once the new bulb is in place, reattach the light fixture by securing the screws or clips. Make sure everything is tightened so that the fixture stays in place during driving.
Read more: How Much is a Handicapped License Plate in AZ
Testing the New License Plate Light
Once installed, it’s important to test the new license plate light. Turn on your vehicle and check the light to ensure it’s working correctly. You can also check the light’s alignment and adjust it if needed.
If the light doesn’t work after installation, double-check the bulb’s position and ensure it’s connected to the electrical socket. In some cases, a fuse might be blown, requiring you to check your car’s fuse box for any issues.
Maintaining Your License Plate Light
To extend the life of your license plate light, it’s important to regularly clean the fixture. Dirt and debris can accumulate on the lens and bulb, causing reduced brightness. Gently clean the area with a soft cloth to keep the light functioning optimally.
You should also inspect the light periodically for any signs of wear, such as flickering or dimming. Early detection can prevent future problems and avoid the need for more frequent replacements.
Conclusion
Changing the license plate light is a simple yet essential task that helps maintain your vehicle’s safety and ensures compliance with road regulations. By following the proper steps—removing the old bulb, selecting the correct replacement, and ensuring a secure installation—you can easily complete the job yourself.
Regular maintenance and cleaning will extend the life of your light, preventing issues like dimming or malfunction. A functional license plate light improves both visibility and your car’s overall condition, keeping it in top shape for both legal and practical purposes. Always prioritize safety and timely replacements for a hassle-free experience.
FAQs
How do I know if my license plate light is burnt out?
If the light is dim, flickering, or completely off, it’s likely burnt out.
Can I replace the license plate light myself?
Yes, replacing the license plate light is a simple DIY task with basic tools.
What type of bulb should I use for my license plate light?
Check your car’s manual for the specific bulb type, or choose between LED or standard bulbs.
How often should I replace my license plate light?
Typically, license plate lights need replacement every 1-2 years, depending on usage.
What happens if I don’t replace a broken license plate light?
A broken light can result in fines or fail vehicle inspections.


