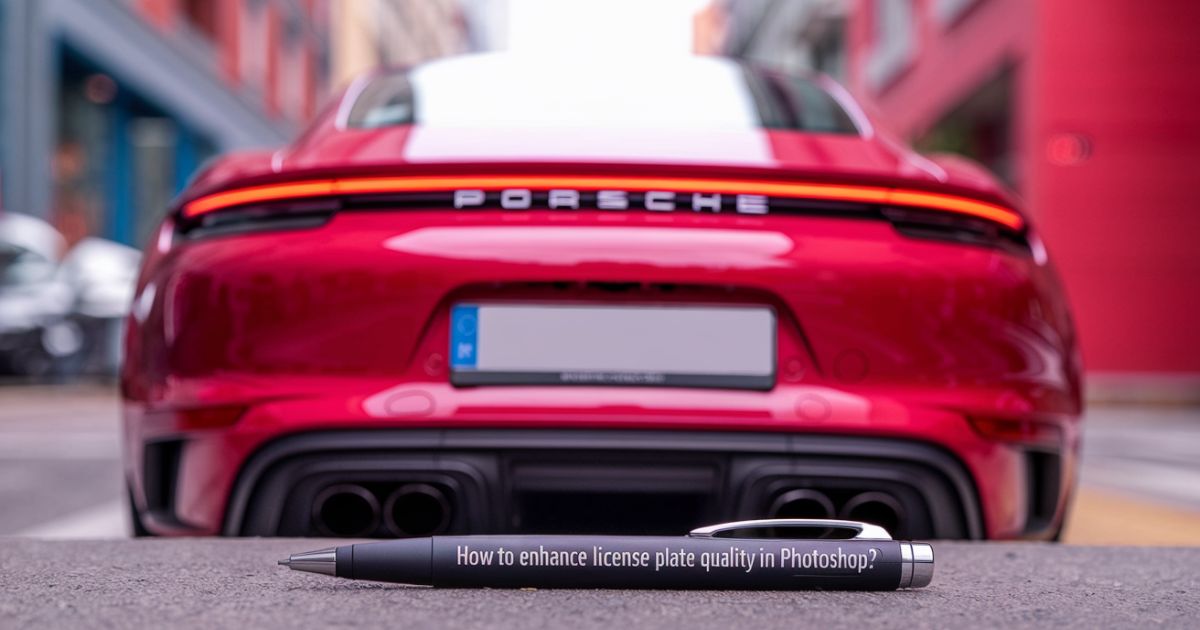
Enhancing the quality of a license plate image in Photoshop can make all the difference when it comes to clarity and professionalism. Whether you’re working with a low-resolution picture or simply want to sharpen the details, Photoshop offers a variety of tools to help. From adjusting brightness and contrast to reducing noise, you can significantly improve the overall look of the plate. These tweaks are especially helpful for photographers, graphic designers, or anyone who needs to focus on the finer details of an image.
In this guide, we’ll explore step-by-step methods to enhance a license plate’s quality using Photoshop. You’ll learn how to use tools like the Sharpen filter, the Noise Reduction feature, and contrast adjustments to bring out every number and letter. By following these steps, you can turn a blurry or faded plate into a crisp, clean image, ensuring that even the smallest details are sharp and clear.
Understanding the Basics of Image Quality in Photoshop
Before diving into the tools that Photoshop offers for enhancing license plate images, it’s important to understand the core aspects of image quality. Resolution, sharpness, and contrast are key factors that influence how clear an image appears. When working with license plate photos, these elements become especially important, as you often need to focus on small details like numbers and letters. A low-resolution image can make this difficult, so understanding how to work with and improve these qualities is the first step.
Photoshop is packed with features that allow you to fine-tune these elements. It’s crucial to know how each tool works and how it affects the overall quality of the image. Whether you’re using filters to reduce noise or adjusting the contrast for better visibility, each setting plays a role in enhancing the final output. Understanding these basics ensures you’re making the right adjustments for optimal clarity.
Read more: Are License Plate Covers Illegal in Washington, D.C.?
Step-by-Step Guide to Enhancing License Plate Images

Enhancing a license plate image starts with opening the file in Photoshop and assessing the quality of the image. Begin by zooming in on the details to evaluate any blurriness or noise that needs to be fixed. Start with basic adjustments, like tweaking brightness and contrast under the Image > Adjustments tab. This will help you immediately improve visibility and create a better foundation for further enhancements.
Next, sharpening filters are applied to make the text on the plate stand out. The Unsharp Mask filter under the Filter > Sharpen menu is a great tool to start with. After sharpening, focus on cleaning up any noise or grain in the image, particularly if the photo was taken in low light or with a lower-quality camera. Noise reduction can be done through the Filter > Noise > Reduce Noise option. These simple steps will greatly enhance the plate’s quality and make it much easier to read.
Using Sharpening Tools for Better Clarity
One of the most effective ways to enhance license plate quality in Photoshop is by using sharpening tools. These tools help refine the edges of letters and numbers, making them crisper and more readable. Start by selecting the Unsharp Mask filter, which is located under the Filter Sharpen menu. Adjust the amount, radius, and threshold sliders until the details become more defined without introducing too much distortion.
Additionally, you can experiment with the Smart Sharpen filter for even more control over the sharpening process. This tool allows you to reduce blur and focus on specific areas of the image, which is particularly useful when working with text-heavy photos like license plates. Just be cautious not to over-sharpen, as it can lead to unnatural-looking results. Balancing the sharpness is key to achieving a clear, high-quality image.
Adjusting Brightness and Contrast for Clearer Details
Brightness and contrast adjustments are essential when improving the visibility of a license plate. These settings can help make washed-out or dark areas more defined, bringing out the fine details in the image. Start by navigating to Image > Adjustments > Brightness/Contrast and use the sliders to adjust these elements. Increasing contrast will make the letters and numbers stand out more clearly against the background.
If the image is particularly dark or overly bright, consider using the Levels or Curves tool for more precise control. These tools let you adjust the tonal range and balance the exposure, which is especially useful for photos taken under poor lighting conditions. Properly adjusted brightness and contrast ensure that the license plate is easily readable, with each detail standing out.
How to Reduce Noise in License Plate Photos
Noise is a common issue in low-resolution or poorly lit license plate photos. It manifests as graininess or pixelation, which can obscure important details. Fortunately, Photoshop is an effective tool for reducing noise without compromising image quality. Navigate to Filter > Noise > Reduce Noise to access the noise reduction filter. From there, adjust the sliders to reduce grain while maintaining clarity in the letters and numbers.
For even more control, you can apply the noise reduction filter selectively by using a layer mask. This technique allows you to target noisy areas without affecting the entire image, which is especially helpful if only certain parts of the license plate photo are affected by noise. Proper noise reduction can dramatically improve the overall quality and readability of the plate.
Enhancing Edges and Fine Details
When enhancing license plate images, refining the edges of the text and plate itself is crucial for clarity. Photoshop’s edge-enhancing tools help create more distinct lines around letters and numbers. To do this, use the Sharpen or Smart Sharpen filter to fine-tune the edges. These tools work by amplifying the contrast between neighboring pixels, making the outlines appear crisper.
You can also use the High Pass filter to further emphasize fine details. This filter highlights the edges while minimizing the softer, less important parts of the image. To apply it, duplicate your layer, go to Filter > Other > High Pass, and adjust the radius until the edges are more defined. This technique will make the license plate’s details pop, improving overall visibility and sharpness.
Best Photoshop Tools for License Plate Enhancement
Photoshop offers several tools specifically designed to enhance the quality of images like license plates. The Sharpen and Noise Reduction filters are some of the most commonly used. In addition to these, the Levels and Curves tools provide excellent control over the image’s exposure and contrast, helping to bring out the finer details.
Another powerful tool for improving license plate images is the Camera Raw filter. It allows for advanced adjustments to exposure, contrast, clarity, and sharpness, providing a comprehensive solution for image enhancement. By combining these tools, you can greatly improve the quality of any license plate image, ensuring the text is sharp and easy to read.
Tips to Improve Low-Resolution License Plate Images
Working with low-resolution images can be tricky, but Photoshop provides several techniques to make them look much sharper. Start by upscaling the image using Photoshop’s Preserve Details option under the Image Size menu. This option helps retain clarity when increasing the resolution. Once the image is larger, apply sharpening filters like Unsharp Mask to refine the details of the plate.
You can also improve low-resolution images by reducing noise and adjusting the brightness and contrast. These steps will bring out any hidden details that might not have been visible before. While low-res images won’t match high-quality photos, these techniques can significantly enhance their readability, making them useful in your projects.
Final Touches: Ensuring a Professional Look
Once you’ve made all the major adjustments to the license plate image, it’s time for the final touches to give it a polished, professional look. Check for any remaining imperfections, such as stray noise or blurred areas, and use the Spot Healing Brush or Clone Stamp tool to clean them up. These tools are great for removing small, distracting elements without affecting the overall quality.
Finally, consider adding a subtle vignette or adjusting the background to draw attention to the license plate itself. This can make the plate stand out even more, ensuring that the final image is both clear and visually appealing. By applying these final touches, you can create a high-quality, professional-looking license plate image that meets your exact needs.
Conclusion
Enhancing a license plate image in Photoshop is a straightforward process when you know how to use the right tools. By adjusting brightness, contrast, and sharpness, along with reducing noise, you can significantly improve the clarity and visibility of details like numbers and letters. Tools such as Unsharp Mask, Smart Sharpen, and the Noise Reduction filter play a key role in refining the image to make it look professional and crisp.
Applying these techniques ensures that even low-resolution or blurry images can be transformed into high-quality visuals. With practice, you’ll be able to enhance any license plate image with ease, ensuring every detail stands out clearly. Don’t forget the final touches, such as cleaning up imperfections and adjusting the background, to give your image a polished, professional look that meets your needs.
FAQ’s
How to clear a blurry license plate picture?
To clear a blurry license plate picture, use sharpening tools like Unsharp Mask or Smart Sharpen in Photoshop. You can also adjust contrast and reduce noise to improve clarity.
How do I unblur my license plate in Photoshop?
In Photoshop, you can unblur a license plate by using the Sharpen or Smart Sharpen filters. Adjust the amount and radius to enhance the clarity of the text and numbers.
How to increase quality in Photoshop?
To increase image quality, you can adjust brightness, contrast, and sharpness, reduce noise, and upscale the image using the “Preserve Details” option when resizing.
How do you blur out a number plate?
To blur out a number plate in Photoshop, use the Gaussian Blur filter. Select the license plate area, go to Filter > Blur > Gaussian Blur, and adjust the blur level to your preference.
How do I sharpen quality in Photoshop?
Use the Unsharp Mask or Smart Sharpen filters under Filter > Sharpen to enhance the edges and details of an image. Adjust the amount, radius, and threshold for better clarity.
How to increase quality in Photoshop?
Improve image quality by adjusting brightness, contrast, and sharpness, reducing noise, and upscaling using the Preserve Details option under Image Size for a higher resolution.