A functioning license plate light is crucial for both safety and legal compliance. It ensures that your vehicle’s license plate is visible in low-light conditions, such as nighttime or during foggy weather. Without a working light, your car could be difficult to identify, especially in dark areas.
In most places, a broken license plate light is not just a minor inconvenience; it’s a legal violation. Failing to maintain it can lead to fines or even trouble with law enforcement. So, keeping your license plate light working is an important responsibility for every car owner.
Signs That Your License Plate Light Needs Replacement
Signs that your license plate light needs replacement include a dim or flickering light, which suggests a failing bulb or loose connection. Complete light failure indicates the bulb or assembly is no longer working, and a dashboard warning message may alert you to the issue, prompting timely action.
Dim or Flickering Light
If you notice that the license plate light seems dim or flickers intermittently, it could be a sign of a failing bulb. A dim light won’t provide adequate illumination, while flickering indicates that the connection may be loose or the bulb is nearing the end of its lifespan.
Flickering can also be caused by electrical issues or wear on the bulb’s filament. In such cases, replacing the bulb is the best option to restore proper functionality.
Complete Light Failure
When the license plate light completely stops working, it’s a clear indication that it needs to be replaced. This could be due to a burned-out bulb, a blown fuse, or a malfunctioning light assembly.
Ignoring this issue could lead to fines or safety risks since the plate won’t be visible to others, especially at night.
Warning Message on Dashboard
Many modern vehicles will display a warning message on the dashboard if there is an issue with the license plate light. If this happens, it’s important to act quickly to avoid legal consequences or driving in unsafe conditions.
The dashboard warning is an easy way to know that your light requires attention, allowing you to address the problem before it becomes serious.
Tools and Materials Needed
To replace the license plate light, you’ll need a few basic tools. These include a screwdriver (typically a flathead or Phillips), a replacement bulb that matches your vehicle’s specifications, and a pair of gloves to protect your hands.
While these tools are sufficient, some might find it easier to use pliers or a small wrench for tightening screws. If you plan on using LED lights, make sure the new light is compatible with your car’s wiring.
Read more: How To Look Up A License Plate
Step-by-Step Guide to Replacing the License Plate Light
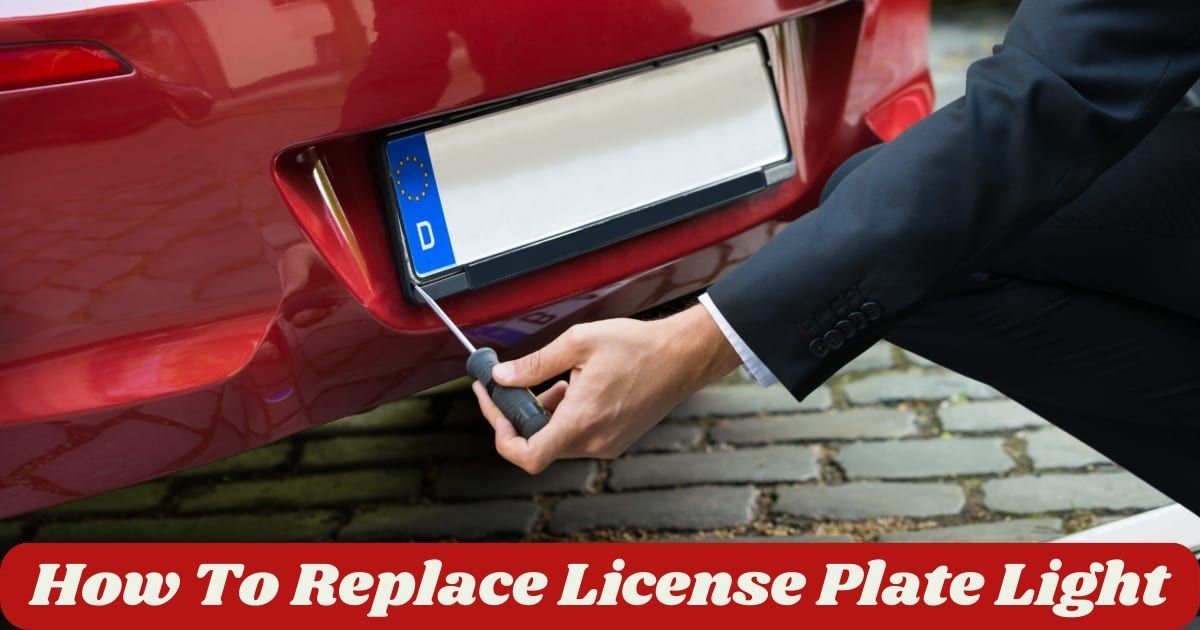
Replacing the license plate light involves a few simple steps. Start by turning off the vehicle and locating the light assembly. Remove the old bulb or light cover, then install the new bulb or LED light securely. Finally, test the new light before reassembling everything to ensure proper functionality.
Step 1: Turn Off the Vehicle and Locate the Light
Before you begin, always turn off the vehicle to ensure safety. Locate the license plate light by examining the rear of your car; it is usually near the license plate or within a small light assembly.
Check for any screws or clips holding the light cover in place. Knowing where everything is positioned will make the process smoother.
Step 2: Remove the Old Bulb or Light Assembly
To remove the old bulb or light assembly, begin by unscrewing the screws or unclipping the fasteners that hold the light cover in place. Be gentle during this process to avoid damaging the housing or the wires connected to it.
Once the cover is removed, carefully pull out the old bulb, ensuring that you don’t apply excessive force to any components. Take note of how the bulb is positioned so you can correctly install the new one. If the light assembly is part of the unit, disconnect any electrical connections before proceeding with the replacement. This ensures a smooth installation process.
Step 3: Install the New Bulb or LED Light
To install the new bulb or LED light, first, ensure the old bulb is fully removed, and the socket is clean. Take the replacement bulb and align it properly with the socket. Gently insert the bulb into the housing, making sure it’s seated securely.
If you’re using an LED light, check that it’s compatible with your vehicle’s electrical system and correctly wired. Avoid touching the bulb with bare hands, as oils from your skin can cause the bulb to burn out prematurely. Once the bulb is installed, double-check that it’s properly connected and fits snugly in place to avoid any issues.
Step 4: Test the Light Before Finalizing
Before finalizing the installation of your new license plate light, it’s essential to test the light to ensure it’s working properly. Turn on your vehicle and check if the light illuminates as expected. This simple step helps confirm that the bulb is securely installed and the electrical connections are functioning correctly.
Testing before reassembling the light housing also allows you to quickly address any issues, such as a faulty bulb or loose wiring. By ensuring the light works properly, you avoid unnecessary rework and guarantee that your vehicle meets both safety standards and legal requirements.
Common Mistakes to Avoid
- Choosing the wrong bulb type: Always double-check your vehicle’s manual to ensure you’re using the correct bulb size and type. Using the wrong bulb can result in poor performance or damage.
- Installing the bulb incorrectly: If the bulb isn’t seated properly, it could lead to electrical issues or the bulb failing sooner than expected. Make sure it’s aligned and connected as needed.
- Forgetting to check electrical connections: Ensure the wiring is intact and properly connected. Loose connections can prevent the light from working even if the bulb is replaced.
Tips for Maintaining Your License Plate Light
Regularly inspect and clean your license plate light to ensure it functions correctly. Dirt and grime can obstruct the light, reducing its effectiveness.
Consider switching to durable LED lights, as they last longer and use less energy, saving you the hassle of frequent replacements.
Conclusion
In conclusion, replacing your license plate light is a simple yet essential task for both safety and legal compliance. Ensuring the light is functioning properly not only improves visibility but also helps you avoid potential fines.
By following a clear and straightforward replacement process, you can easily restore the light to its full functionality. Regular inspection and timely replacement are key to maintaining the light’s performance. Whether you’re doing it yourself or seeking professional help, keeping your license plate light in working order is an important part of responsible vehicle ownership.
FAQs
Can I replace the license plate light myself?
Yes, it’s a simple task that you can do with basic tools.
What type of bulb should I use for my license plate light?
Refer to your vehicle’s manual for the correct bulb size and type.
How often should I replace the license plate light?
Replace it when it shows signs of dimming, flickering, or complete failure.
What tools do I need to replace the license plate light?
A screwdriver, gloves, and a replacement bulb are usually enough.
Is it illegal to drive with a broken license plate light?
Yes, driving without a functioning license plate light is typically against the law.